
So you’ve heard about CI/CD. Maybe someone brought it up during a standup. Maybe it was listed in a job post. Or maybe you just got curious and decided to finally look into it. Whatever the case, good on you. You’re here now, and this guide will walk you through setting up your first pipeline using GitHub Actions.
This isn’t a deep dive into enterprise-level automation. This is a clean, practical intro. We’ll work with a simple Python script and set up a workflow that runs tests every time you make a change.
Let’s start automating the boring stuff.
What You’ll Need
No drama. Just a few things.
- A GitHub account. If you don’t have one, go get it. It’s free and will be handy for other stuff too.
- A basic Python script. Something simple. Even just a print statement works. We’ll build from there.
Step 1: Create a GitHub Repository
Jump into GitHub and log in.
- Click the New repository button
- Give your repo a name like
ci-cd-python-pipeline - Tick the box that says Add a README file
- Hit Create repository
Done. You’ve got a home for your first pipeline.
Step 2: Add a Python Script
In your new repo:
- Click Add file then Create new file
- Call it
hello.py - Paste this code
def my_function():
    return "Hey, this is my first CI/CD!"

if __name__ == "__main__":
print(my_function())- Commit the file. Use a short message like
add hello.py
Easy. Now you’ve got something to test.
Step 3: Let’s Get Action-Packed with GitHub Actions
Time to get the automation going.
- Go to the Actions tab
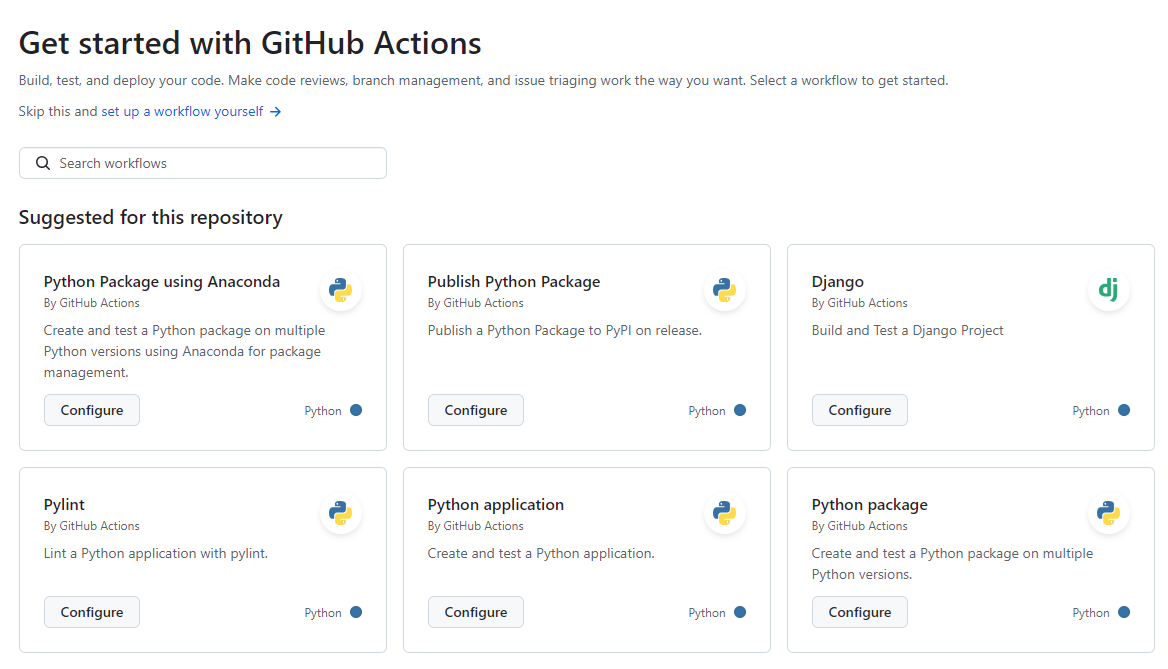
- Skip the suggested templates and click set up a workflow yourself
- Name the file
.github/workflows/python-ci.yml
Make sure the folder and file name are exactly right. GitHub depends on that path to find the workflow..
Step 4: Define the Workflow
Paste this into your new workflow file:
name: Python CI Pipeline

on:
  push:
    branches:
      - main
  pull_request:
    branches:
      - main

jobs:
  build:
    runs-on: ubuntu-latest

    steps:
    - name: Checkout repository
      uses: actions/checkout@v2

    - name: Set up Python
      uses: actions/setup-python@v2
      with:
        python-version: '3.x'

    - name: Install dependencies
      run: |
        python -m pip install --upgrade pip
        if [ -f requirements.txt ]; then pip install -r requirements.txt; fi

    - name: Run Python script
      run: |
        python hello.py
What This Workflow Actually Does
- name: We call our workflow
Python CI Pipeline. Feel free to get creative here, likeDeploy-o-Tron 3000. - on: This workflow will trigger whenever you push to the
mainbranch or create a pull request to it. - jobs: We define the job called
build. - runs-on: This job will run on
ubuntu-latest, which is basically a virtual machine that GitHub is nice enough to lend us. - steps: These are the individual commands we’ll run.
- First, we checkout the code (so GitHub knows what files to work with).
- We set up Python.
- Next, we install dependencies (if any are needed, for now, there aren’t any).
- Lastly, we run the script to ensure it works, and then run tests using
pytestto verify everything behaves as expected.
Step 5: Push Your Changes and Watch the Magic Happen
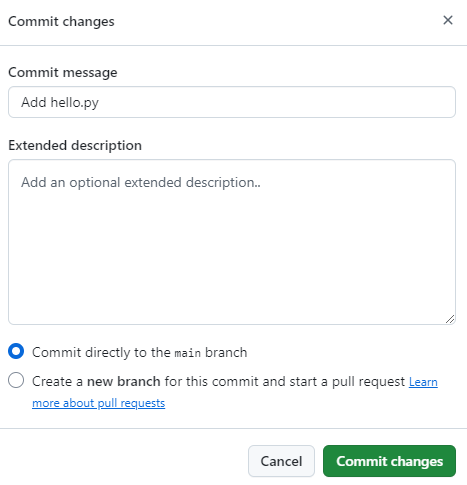
Once your workflow file is ready, go ahead and save it by clicking Commit changes. You’ll get a little popup asking for a message. Just write something simple like Add CI workflow and hit commit.
Now the fun part.
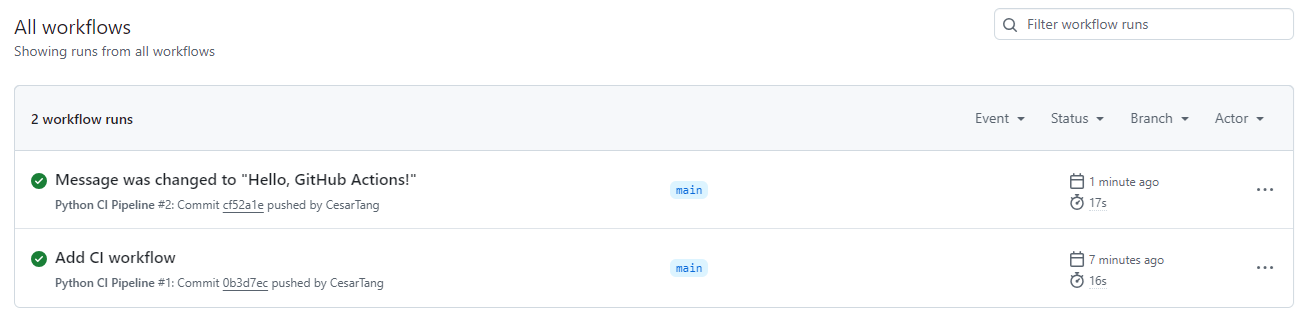
Head over to the Actions tab in your repo. If everything’s wired up properly, you’ll see a nice green checkmark next to your workflow. That means it ran successfully and your script did its job.
If something’s off, you’ll see a red cross instead. No stress. Click on it to check the logs and figure out what needs fixing.

Step 6: Make a Change and Test It
The whole point of CI is not just running your script once and calling it a day. It’s about having your tests fire up every time you tweak something.
So go back to your hello.py script and change the message. Something like Hello, GitHub Actions!.
Save it. Commit it. Push it.
That’s it. The workflow kicks in automatically. No need to click anything else. It just runs on its own and tells you if everything still works.
Want to Take It Up a Notch? Add a Test
If you’re up for it, let’s add a basic test to your setup. This will make sure your script is doing what you expect every time you push changes.
Create a new file in your repo and call it test_hello.py. Inside, paste this:
import pytest
from hello import my_function

def test_my_function():
    assert my_function() == "Hello, GitHub Actions!"
Update your .github/workflows/python-ci.yml :
- First, add
pip install pytestunder the ‘Install dependencies’ step, so that it looks like this:
    - name: Install dependencies
      run: |
        python -m pip install --upgrade pip
        pip install pytest
if [ -f requirements.txt ]; then pip install -r requirements.txt; fi- Second, add the test after “Run Python script”:
    - name: Run Python script
      run: |
        python hello.py

    - name: Run tests
      run: |
        pytest
Push those changes, and GitHub Actions will now run your script and the test every time you update your code. Green means all good. Red means something broke, but now you’ll catch it early.
Wrapping Up
And just like that, you’ve got your first CI pipeline running in GitHub Actions. You made a change. Pushed it. The script ran. The test ran. You didn’t have to do anything manually.
It’s simple, sure. But it works. And it’s the kind of foundation that bigger projects are built on. Automating things like this early saves you from a pile of headaches later.
We’ll get into the CD part in another post. That’s where deployment kicks in. For now, enjoy having one less thing to do by hand.